Organizing a game
Organizing a game is a pretty simple process using this tool.
Open the app (link at the top of this page). Install the app if you like – it makes it a little easier. Create an account (see below).
To create a new game you simply tell the tool how many players you have and it shows the movements that fit. You choose the right movement, which most often seems to be a Howell or a Mitchell. The chosen movement lists how many rounds are required. Then you determine how many boards you wish to play. This will be a factor of time available and how many boards you actually have.
For example:
To organize a pairs game for 12 players, you would likely choose a Full Howell movement. Played over 5 rounds, you would then choose 3,4,5 or maybe even 6 boards per rounds depending on how much you wish to play. However, you also need to have this many boards available.
That’s all you need to do.
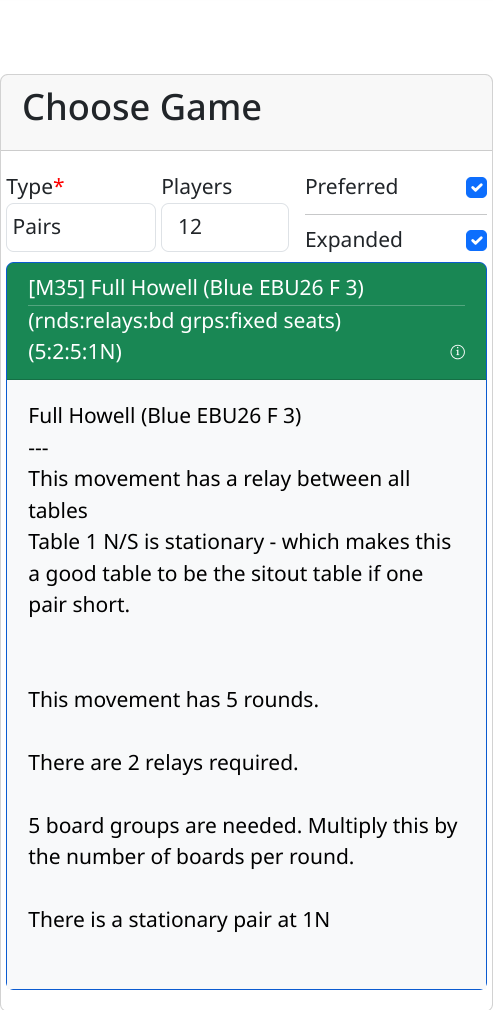
The information displayed on the choose game form can be concise or expanded. The data displayed in the parentheses (rounds:relays:board groups:fixed seats) (5:2:5:1N) is pretty much all you need to know.
The screenshot below hows the [M35] Full Howell. The people at table 1N will not move during the game. The 2 relays are in the last round. Boards must be shared. It is best to rotate the boards from table to table if this is the case.
If you have a missing pair, then leave the seats empty for that pair in the app. It can be useful to use the stationary pair as the missing pair. This way this table becomes the sit-out table. The app will show all this when playing.
In Detail.
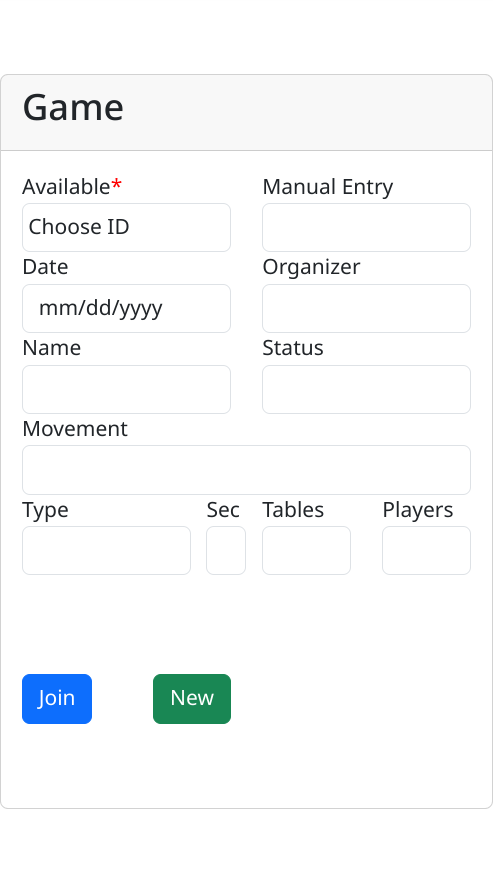
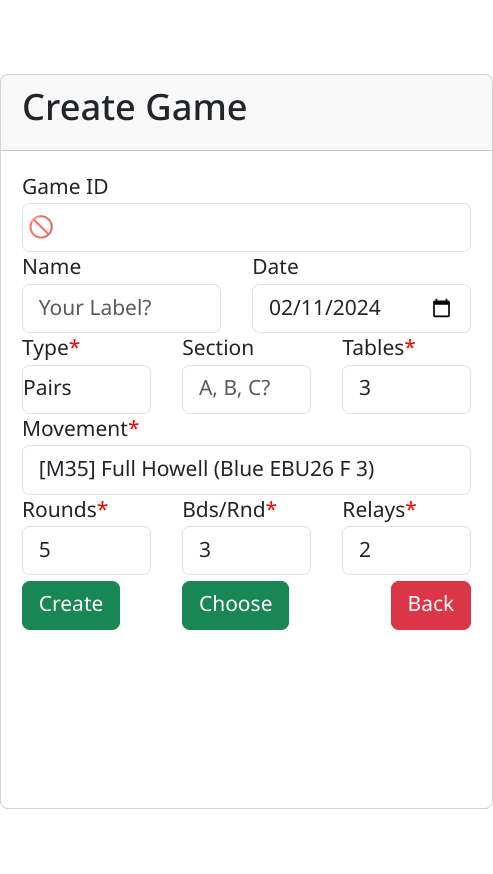
On the game Screen – click New (You need to have verified your email account first). Choose the movement you want (initially only a limited set of ‘preferred’ movements are shown). This should get most users started for 3-6 tables. Enter the number of boards per round you would like to play. This really depends on how you wish to spend your time. The screen below shows that the host has chosen the full Howell of 5 rounds and with 3 boards per round. This means a total of 15 boards are to be played.
See Example: Setting up a game for more details.
Playing a game
All that is necessary to play a game is to type in your name and then name (ID) of the game, such as ‘smith123’. Then you tell the device where you are seated. One player at the table will need to add names to the other seats. That’s it. The rest is automatic.
Every pair (or player in an individual game) should have a device connected to the game. Every device user must have pressed the ‘Play’ button on the Player screen. Only when you have completed the Choose Seat form does the device know where YOU are seated and can then create your specific movements. See Playing a game for more details.
Creating an Account
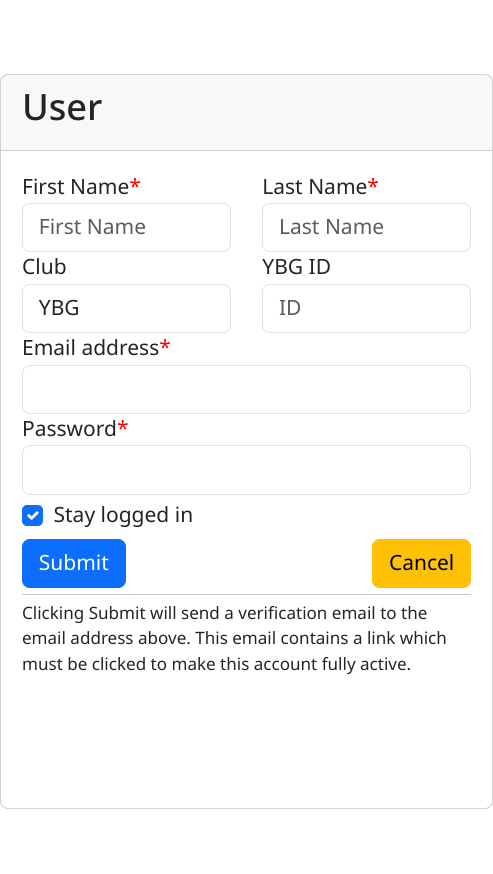
To be an organizer, you first have to create an account. Use the menu to navigate to the ‘Login’ page. Then click ‘Register’. Please ensure that ‘Stay Logged In’ is checked. Your email address will be sent a validation email. Click the link in your email (check your spam folder if necessary) and your account is validated. Now you can organize games.